Hey there, beauties! Ready to add a splash of color to your nails this weekend?
I usually keep my nail routine simple, but today I’m in the mood to get creative. Let me walk you through achieving a fun tie-dye effect on your nails.
Here’s what you’ll need to get started:
1) A small bowl filled with water
2) Scotch tape or any similar tape
3) Toothpicks
4) Nail polish in your favorite colors
5) Nail polish remover
6) Cotton balls or cotton pads
Let’s dive in!
Step 1: Start by painting your nails with a light base color, like white or a similar pale shade. I used SEPHORA by O.P.I from the “Urban Ballerina Collection.” That particular shade isn’t available on the SEPHORA website anymore, but they offer plenty of fantastic nail kits—definitely worth a look if you love experimenting with nail art! A comparable option is Ballet Slippers by Essie.
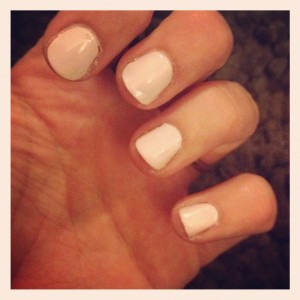
Step 1
Step 2: Once your base coat is dry, wrap tape around each nail. This tape acts as a shield, keeping polish off the skin and making cleanup a breeze. Regular scotch tape or any tape you have on hand works perfectly.
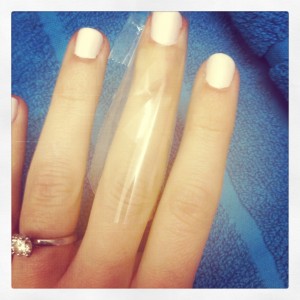
Step 2
Step 3: Pick out the nail polish shades you’d like for your tie-dye design. I went with three colors, but feel free to use more. My picks were Deeply In Love by O.P.I, La Paz-Itively Hot
 by O.P.I, and Panda-Monium Pink
 by O.P.I
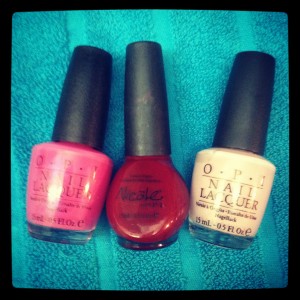
Step 3
Step 4: Fill a small bowl about three-quarters full with room-temperature water. Before you begin, unscrew the caps from all your nail polishes so you can grab them quickly.
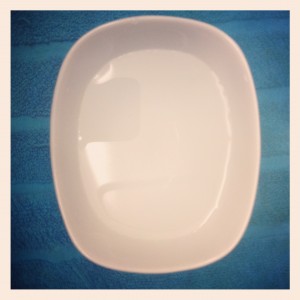
Step 4
Step 5: Work quickly here, as the polish will start to dry once it hits the water. Drop your first color into the water, then add a drop of the next color right on top, continuing in that pattern. There’s no wrong way to choose colors—just aim for a bullseye effect with concentric circles. I used Deeply In Love, La Paz-Itively Hot, and Panda-Monium Pink. I repeated the sequence to create six drops total.
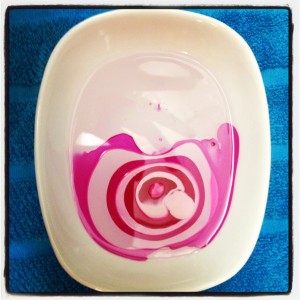
Step 5
Step 6: Use a toothpick to gently swirl the colors together, creating that classic tie-dye pattern. Again, there’s no right or wrong here—just be careful not to overmix, or you’ll end up with a muddy mess.
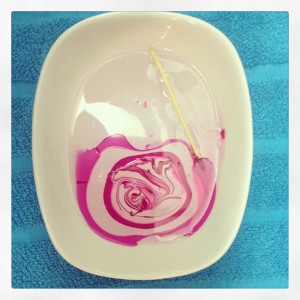
Step 6
Step 7: Lower your finger into the water near the polish design. Position your nail at the outer edge of the color ring, then gently “scoop” the polish upward so the pattern transfers smoothly onto your nail without smudging. Imagine slipping under a pool noodle and coming up through the center—that’s the motion. You can try two fingers at once if you’re feeling confident, but I preferred to do one at a time.
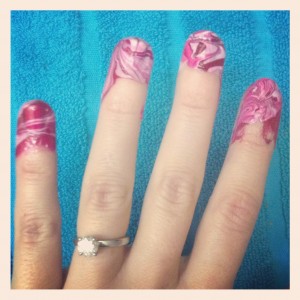
Step 7 and 8
Step 8: Once you’ve finished one entire hand, carefully peel off the tape.
Step 9: Now it’s time to tidy up any stray polish using your remover and cotton pads.
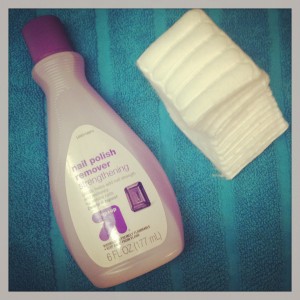
Step 9
Repeat steps 3 through 9 on your other hand.
And voilà! You’re all set—and looking absolutely fabulous!
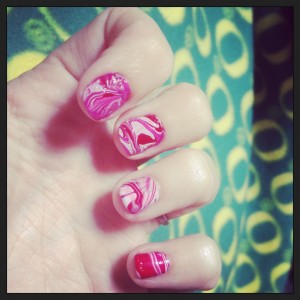
Done!
Don’t be discouraged if it takes a few tries to get the hang of this technique. I messed up several times myself, but I’m glad I kept at it—the final look was totally worth it! If you’re like me and end up smudging your freshly done nails, I recommend Drip Dry by O.P.I. It helps speed up drying, so you won’t feel as helpless waiting for your polish to set. Just don’t go digging in the sandbox right after applying it!
Before you begin, double-check that you have plenty of nail polish remover on hand. I thought I had enough, but I ran out and had to dash to Target with my fingers still looking like step 8. I grabbed some cotton pads and did a quick cleanup right in the store. People probably thought I was crazy, but sometimes you’ve got to do what you’ve got to do!
Have fun with your new tie-dye nails!
K












Leave a Reply